
Easy Steps for Installing a Bathroom Vanity Unit
Installing a bathroom vanity unit can transform your bathroom's look and functionality. Whether you’re doing a full remodel or just upgrading an old unit, this guide will walk you through the easy steps to get the job done right. Let's dive into the process and ensure your new bathroom vanity unit is installed seamlessly.
1. What Tools Do You Need to Install a Bathroom Vanity Unit?
Before starting the installation, gather all the necessary tools to make the process smooth and efficient. Here’s a list of tools you’ll need:
Tape Measure: For accurate measurements of your space and vanity unit.
Level: Ensures that your vanity is perfectly horizontal.
Drill and Drill Bits: For making holes in the wall and securing the unit.
Stud Finder: To locate wall studs for secure mounting.
Wrench and Pliers: For connecting plumbing fixtures.
Silicone Caulk and Caulking Gun: To seal around the sink and countertop.
Screwdriver: To tighten screws and make adjustments.
Having these tools ready will save time and prevent frustration during the installation process.
2. How to Prepare Your Bathroom for a New Vanity Unit Installation
Proper preparation is key to a successful installation. Follow these steps to get your bathroom ready:
Remove the Old Vanity: Turn off the water supply and disconnect plumbing. Carefully remove the old vanity, being mindful of the walls and floor.
Clean the Area: Thoroughly clean the space where the new vanity will be installed. Remove any debris, old caulk, and repair any wall damage.
Measure and Mark: Measure the dimensions of the new vanity and mark the wall where it will be placed. Use a level to ensure your markings are straight.
3. Easy Steps for Installing a Bathroom Vanity Unit
Now that you’re prepared, let’s go through the installation steps:
Position the Vanity: Place the vanity unit in the marked position. Use shims to adjust its height and ensure it is level.
Secure to the Wall: Locate the wall studs using a stud finder. Drill pilot holes through the back of the vanity into the studs and secure it with screws.
Install the Countertop: If your vanity comes with a separate countertop, apply a bead of silicone caulk on the top edges of the vanity base. Carefully place the countertop on top and press down firmly.
Attach the Sink: Apply plumber’s putty around the sink’s drain opening. Insert the sink into the countertop hole, press it down, and secure it from underneath.
Connect the Plumbing: Reconnect the water supply lines and drain pipes. Use a wrench and pliers to tighten connections, ensuring there are no leaks.
Seal the Edges: Apply silicone caulk around the edges of the countertop and sink to prevent water from seeping underneath.
4. How to Choose the Right Bathroom Vanity Unit for Your Space
Selecting the perfect bathroom vanity unit involves considering several factors:
Size: Measure your space accurately to ensure the vanity fits without overcrowding the bathroom.
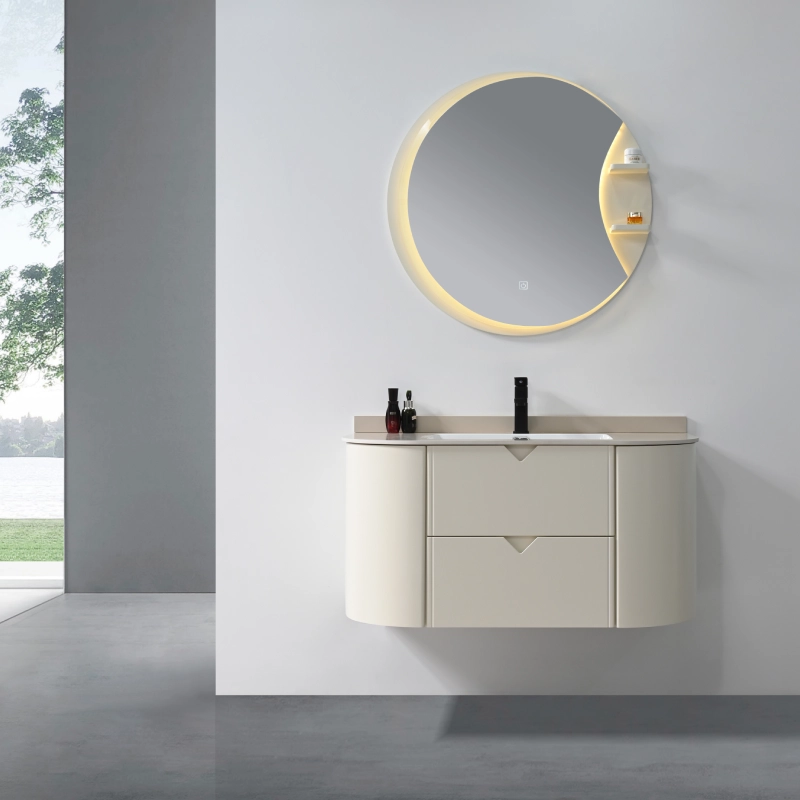
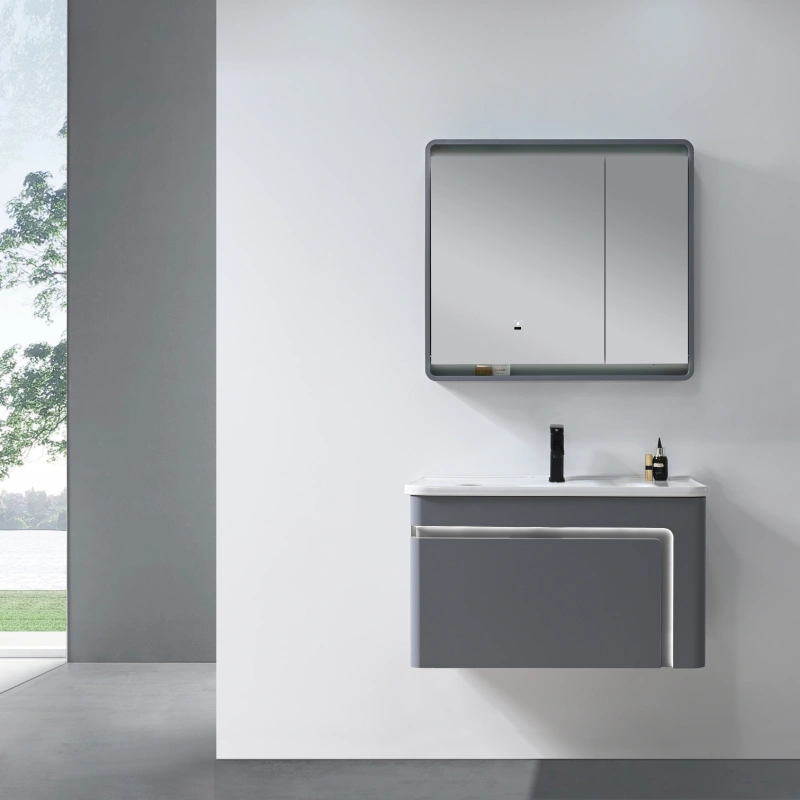
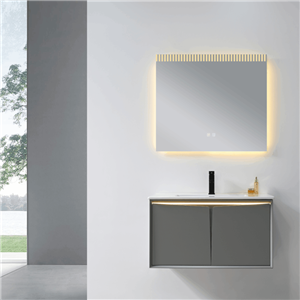
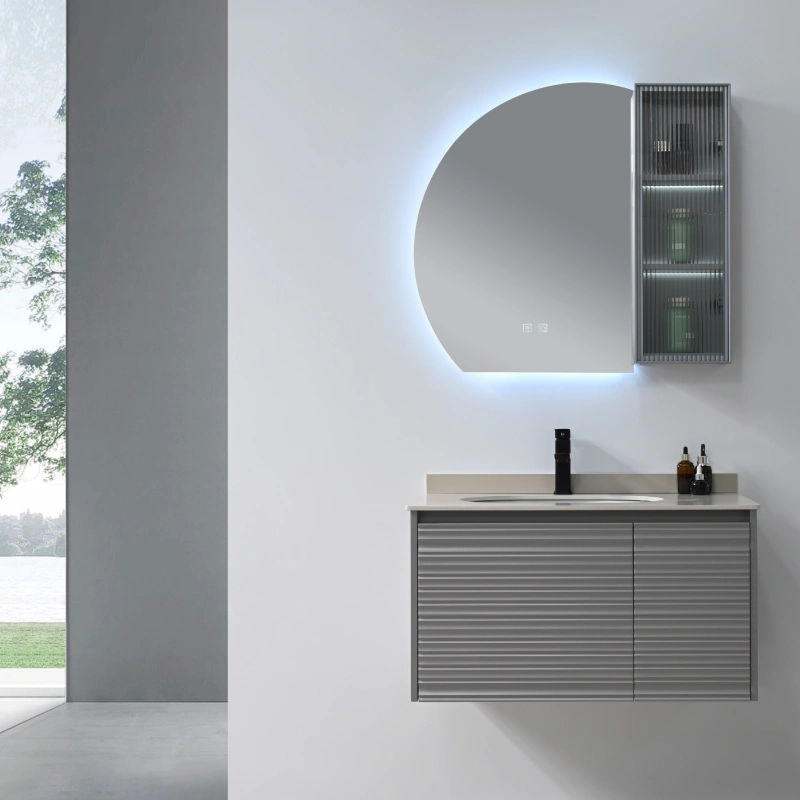
Style: Choose a style that complements your bathroom decor, whether modern, traditional, or rustic.
Storage Needs: Consider your storage requirements. Look for units with drawers, cabinets, or open shelving based on your needs.
Material: Opt for durable materials like solid wood, engineered wood, or MDF with moisture-resistant finishes.
5. Common Mistakes to Avoid When Installing a Bathroom Vanity Unit
Avoid these common pitfalls to ensure a smooth installation:
Skipping the Level Check: Always use a level to ensure the vanity is perfectly horizontal to avoid plumbing issues.
Ignoring Wall Studs: Securing the vanity to wall studs provides stability and prevents it from coming loose.
Rushing Plumbing Connections: Take your time with plumbing connections to avoid leaks and water damage.
6. What to Do After Installing Your Bathroom Vanity Unit
Once your new vanity unit is installed, follow these steps to finalize the setup:
Check for Leaks: Turn on the water supply and check all connections for leaks. Tighten any loose connections.
Seal the Edges: Ensure all edges around the sink and countertop are sealed with silicone caulk to prevent water damage.
Clean Up: Wipe down the vanity and countertop, and remove any installation debris.
Decorate: Add personal touches like a mirror, lighting, and accessories to enhance your new vanity’s look.
Transform Your Bathroom with Ease
Installing a bathroom vanity unit is a rewarding DIY project that can enhance your bathroom’s functionality and aesthetics. By following these easy steps and taking your time, you can achieve professional results. Remember, the key to success is preparation, precision, and patience. Happy installing!
Your Perfect Bathroom Awaits
Ready to upgrade your bathroom? Explore our wide range of bathroom vanity units on our website and find the perfect fit for your home. For more tips and guides, check out our blog and follow us on social media.