
Maintenance Tips for Long-Lasting Floating Bathroom Vanities
Maintaining your floating bathroom vanities is crucial for ensuring their longevity and keeping your bathroom looking stylish. Floating bathroom vanities offer a sleek, modern look that can enhance any bathroom design. Proper maintenance not only preserves their aesthetic appeal but also extends their functional life. In this guide, we will provide you with practical tips on how to keep your floating bathroom vanities in top condition, ensuring they remain a beautiful focal point in your bathroom for years to come.
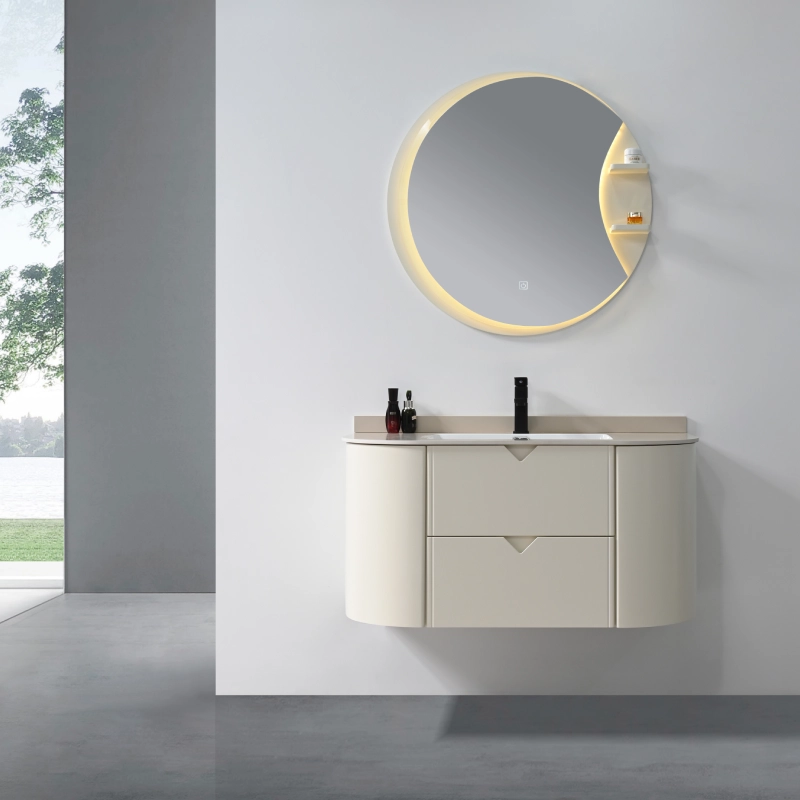
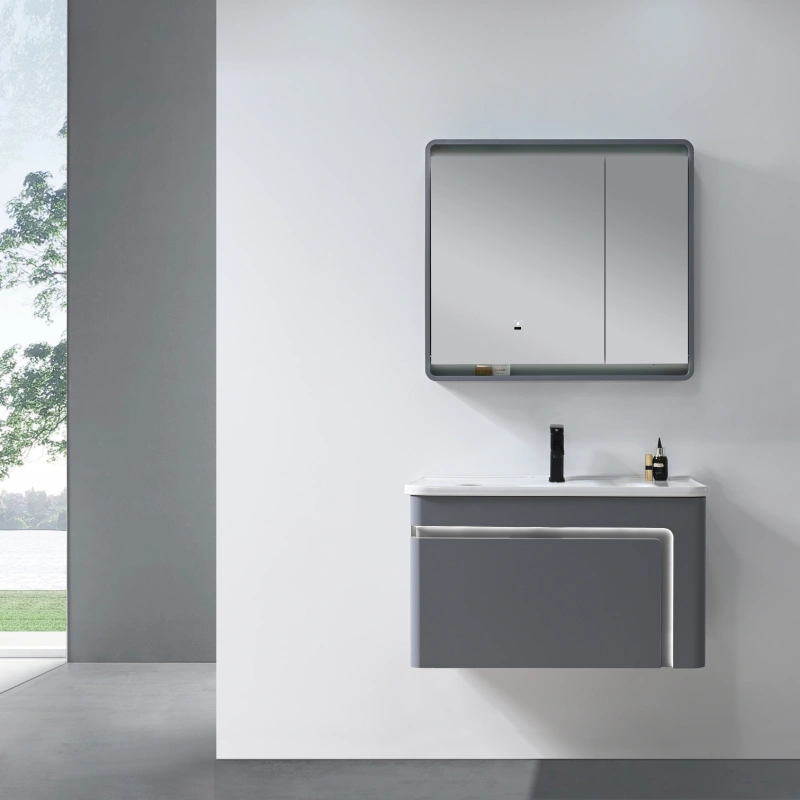
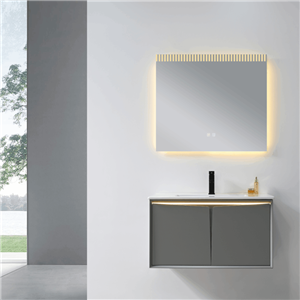
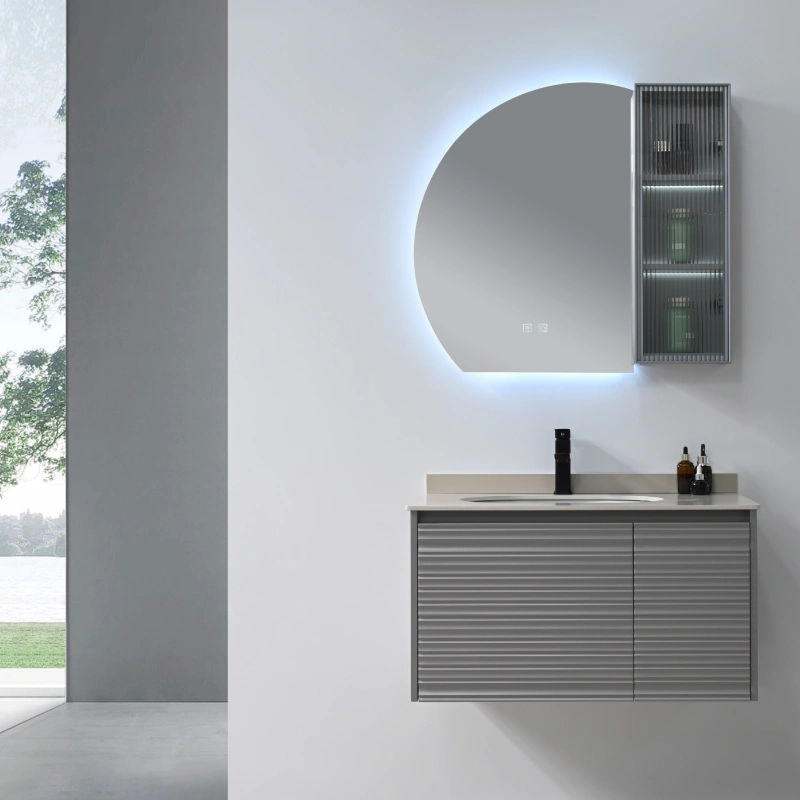
What Are Floating Bathroom Vanities and Why Choose Them?
Floating bathroom vanities are wall-mounted units that create the illusion of a larger space by keeping the floor visible. Unlike traditional vanities, which sit on the floor, floating vanities provide a modern, streamlined look that is both stylish and functional. They are an excellent choice for any bathroom, offering several key benefits:
Space-saving design: By mounting the vanity on the wall, you free up floor space, making the bathroom feel more open and less cluttered.
Easy cleaning: With no legs or base to work around, cleaning the floor beneath the vanity is a breeze.
Modern aesthetic: The sleek, minimalist design of floating vanities complements contemporary bathroom styles, adding a touch of elegance.
Versatility: Available in various styles, materials, and sizes, floating vanities can be customized to fit any bathroom decor and layout.
Choosing floating bathroom vanities can transform your bathroom, providing both practical benefits and a sophisticated look.
How to Clean Floating Bathroom Vanities?
Keeping your floating bathroom vanities clean is essential for maintaining their appearance and functionality. Here are some simple yet effective cleaning tips:
Daily Cleaning Tips
Wipe Down Surfaces: Use a soft, damp cloth to wipe down the vanity surfaces daily. This prevents dust and grime from building up.
Avoid Harsh Chemicals: Stick to mild, non-abrasive cleaners. Harsh chemicals can damage the finish of your vanity.
Dry After Cleaning: After wiping with a damp cloth, always dry the surfaces with a clean, dry towel to prevent water spots and streaks.
Recommended Cleaning Products
Mild Soap Solution: A mixture of warm water and a few drops of mild dish soap works well for routine cleaning.
Vinegar and Water: For tougher spots, a solution of equal parts vinegar and water can be effective. Just be sure to rinse and dry thoroughly.
Glass Cleaner: If your floating vanity includes glass elements, use a glass cleaner to keep them sparkling.
Avoiding Common Cleaning Mistakes
No Abrasive Pads: Avoid using steel wool or abrasive scrub pads, as they can scratch the surface.
Don't Soak: Do not let water sit on the surface for extended periods. Excess moisture can seep into the material and cause damage.
Test First: If using a new cleaning product, test it on a small, inconspicuous area first to ensure it doesn’t harm the finish.
By following these cleaning tips, you can keep your floating bathroom vanities looking new and well-maintained, enhancing both their longevity and your bathroom's overall appeal.
What Materials Make the Best Floating Bathroom Vanities?
Selecting the right material for your floating bathroom vanity is crucial for durability and maintenance. Here are some popular materials and their specific maintenance tips:
Wood
Pros: Natural, warm aesthetic; versatile; can be stained or painted.
Cons: Prone to water damage if not sealed properly.
Maintenance Tips:
Seal the wood with a high-quality, water-resistant finish to prevent moisture penetration.
Wipe up any water spills immediately to avoid staining or warping.
Use wood-specific cleaners to maintain the finish and avoid harsh chemicals.
Medium-Density Fiberboard (MDF)
Pros: Affordable; smooth surface; easy to paint.
Cons: Can swell if exposed to water; less durable than solid wood.
Maintenance Tips:
Keep the vanity dry by immediately wiping off any water splashes.
Clean with a soft, damp cloth and avoid soaking the material.
Regularly inspect for signs of water damage and touch up paint or sealant as needed.
Glass
Pros: Sleek and modern look; easy to clean; resistant to water damage.
Cons: Can show fingerprints and water spots; requires regular cleaning.
Maintenance Tips:
Use a glass cleaner or a vinegar-water solution to keep the surface spotless.
Avoid abrasive cleaners that can scratch the glass.
Regularly polish the glass to maintain its shine.
Stone (Marble, Granite)
Pros: Luxurious appearance; highly durable; heat-resistant.
Cons: Can be porous; may require sealing; heavy.
Maintenance Tips:
Seal the stone surface to prevent staining and water absorption.
Clean with pH-neutral cleaners to avoid damaging the stone.
Wipe up spills immediately, especially acidic substances like vinegar or lemon juice, which can etch the surface.
Laminate
Pros: Affordable; wide variety of styles; easy to clean.
Cons: Can be less durable; edges can peel over time.
Maintenance Tips:
Clean with a mild detergent and a damp cloth.
Avoid using abrasive cleaners that can damage the laminate surface.
Regularly check for peeling edges and use adhesive to fix them if necessary.
By choosing the right material for your floating bathroom vanity and following specific maintenance tips, you can ensure it stays in great condition for years to come.
How to Prevent Water Damage to Floating Bathroom Vanities?
Water damage is a common issue that can significantly reduce the lifespan of your floating bathroom vanity. Here are some effective tips to prevent water damage and keep your vanity in excellent condition:
Tips for Waterproofing and Sealing Vanities
Apply a Water-Resistant Finish: Regularly apply a water-resistant sealant or finish to wooden vanities to protect against moisture. Ensure all surfaces, including edges and corners, are thoroughly coated.
Use Silicone Caulk: Seal gaps and joints with silicone caulk to prevent water from seeping into vulnerable areas. This is especially important around sinks and countertops.
Install a Backsplash: A backsplash can protect the wall and the back of the vanity from water splashes. Choose materials that are easy to clean and resistant to water.
Importance of Proper Ventilation in the Bathroom
Install an Exhaust Fan: Ensure your bathroom has a good exhaust fan to reduce humidity levels. Turn on the fan during and after showers to expel excess moisture.
Open Windows: If possible, open windows to allow fresh air to circulate and reduce humidity.
Use a Dehumidifier: In particularly humid climates, a dehumidifier can help maintain a dry environment, preventing mold and mildew growth.
How to Handle Minor Water Damage Repairs
Dry Immediately: If you notice water has spilled or splashed on your vanity, dry it immediately with a soft towel to prevent it from soaking in.
Sand and Refinish: For wooden vanities with minor water damage, lightly sand the affected area and apply a new coat of sealant or finish to restore its appearance and protection.
Replace Damaged Parts: If any part of the vanity is severely damaged by water, consider replacing that component to prevent further deterioration.
By taking proactive steps to waterproof and ventilate your bathroom, you can protect your floating bathroom vanity from water damage. Regular maintenance and immediate attention to spills and splashes will help keep your vanity looking new and functioning well for many years.
How to Keep Your Floating Bathroom Vanities Looking New?
Maintaining the appearance of your floating bathroom vanities requires consistent care and a few simple practices. Here are some tips to keep them looking pristine:
Tips for Protecting the Vanity Surface from Scratches and Stains
Use Protective Pads: Place felt or rubber pads under items that sit on the vanity surface, such as soap dispensers or decorative items, to prevent scratches.
Avoid Abrasive Cleaners: Use non-abrasive cleaners and soft cloths to clean the surface, as harsh materials can scratch and dull the finish.
Blot Spills Immediately: Quickly blot up spills to prevent stains, especially with substances that can cause discoloration, such as makeup, toothpaste, or cleaning products.
Regular Maintenance Routines to Preserve the Vanity's Appearance
Weekly Cleaning: Clean your vanity at least once a week with a mild cleaner and a soft cloth to remove dust and grime. This routine prevents buildup that can damage the surface over time.
Monthly Inspections: Conduct a monthly inspection to check for any signs of damage, wear, or potential issues such as loose hardware or water spots.
Polishing: For vanities made of materials like wood or stone, use a suitable polish every few months to maintain their luster and provide an additional protective layer.
Using Protective Finishes and Polishes
Wood Vanities: Apply a furniture polish or wax designed for wood surfaces to enhance shine and protect against moisture.
Stone Vanities: Use a stone-specific sealer or polish to keep the surface sealed and shiny. Reapply the sealer as recommended by the manufacturer to maintain its effectiveness.
Glass Vanities: Clean glass elements with a glass cleaner and polish with a microfiber cloth to avoid streaks and maintain a sparkling finish.
By implementing these practices, you can keep your floating bathroom vanities looking new and well-maintained. Regular care and preventive measures will ensure that your vanity remains a beautiful and functional centerpiece in your bathroom.
Proper maintenance of your floating bathroom vanities is essential for preserving their beauty and functionality. By understanding the specific needs of your vanity's material, implementing regular cleaning routines, and taking preventative measures against water damage, you can ensure that your vanity remains a stylish and durable addition to your bathroom.